Achieve Perfect Swirls in Your Homemade Chocolate Peanut Butter Ice Cream
There’s an undeniable magic to homemade ice cream. It's not just a dessert; it's an experience, a memory in the making. And when that experience involves the iconic pairing of rich chocolate and creamy peanut butter, it becomes truly unforgettable. While store-bought versions can satisfy a craving, nothing quite compares to the luscious creaminess and bespoke flavors of a batch crafted in your own kitchen. Many aspiring home chefs dream of achieving those picture-perfect, distinct ribbons of peanut butter swirling through a velvety chocolate base – a testament to both flavor and artistry. This guide will help you unlock the secrets to creating exquisite, *homemade chocolate peanut butter ice cream* with those elusive, *perfect swirls* every single time.
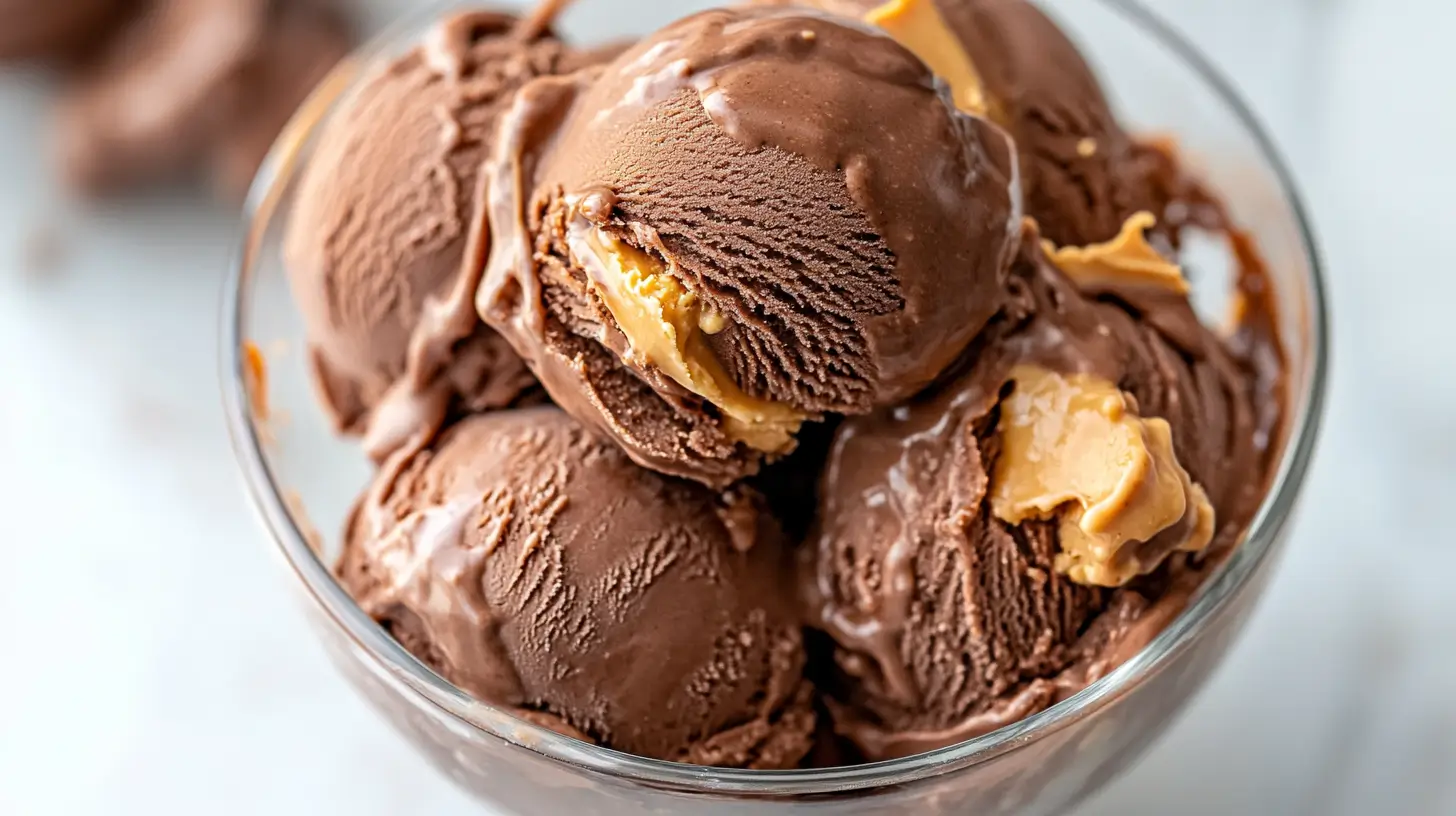
The Allure of Homemade Chocolate Peanut Butter Ice Cream
Imagine diving into a spoonful that transports you back to childhood summers, a moment of pure, unadulterated joy. That’s the power of exceptional *chocolate peanut butter ice cream*. The combination is a match made in dessert heaven: the deep, slightly bitter notes of cocoa perfectly balanced by the salty, nutty richness of peanut butter. What makes the homemade version even more special is the control you have over its texture and intensity. Forget icy, flavorless commercial varieties; prepare for a dessert that offers a luxurious mouthfeel and an explosion of taste that excites your palate.
After a long week, there’s nothing quite as comforting and indulgent. This isn't just a dessert; it’s a stress-free escape, a delightful frozen treat that promises to impress. The beauty of the *no-churn* method, which we’ll delve into, is its incredible simplicity. No complex machinery, no elaborate techniques – just a few basic ingredients and a little patience stand between you and a truly divine creation. For those seeking to craft an irresistibly creamy frozen treat, understanding
The Secret to Irresistibly Creamy Chocolate Peanut Butter Ice Cream lies in the careful balance of these core components.
Unlocking the Secret to Creamy Swirls: The No-Churn Advantage
The foundation of any great ice cream lies in its base. For our glorious *chocolate peanut butter ice cream*, we rely on a brilliant no-churn method that ensures unparalleled creaminess without an ice cream maker. This technique is particularly advantageous for achieving those coveted swirls because it results in a denser, yet still airy, base that suspends the peanut butter beautifully.
Here’s a breakdown of the four essential ingredients that form our luscious base and how they contribute to both texture and the potential for stunning swirls:
*
Heavy Cream: This is the backbone of your ice cream's richness and airy texture. When whipped, heavy cream incorporates air, creating a light, fluffy base that freezes beautifully without becoming icy. The quality of your whipped cream directly impacts the final texture and its ability to cradle those peanut butter ribbons.
*
Sweetened Condensed Milk: More than just a sweetener, sweetened condensed milk is crucial for preventing ice crystal formation. Its high sugar content and syrupy consistency ensure a smooth, soft-serve-like texture even when frozen solid. It acts as a binder, integrating all the flavors into a cohesive, velvety mixture.
*
Cocoa Powder: The source of that intense, deep chocolate flavor. Opt for a good quality unsweetened cocoa powder to achieve the best depth of flavor. If you prefer a darker chocolate profile, Dutch-processed cocoa can enhance richness and color.
*
Peanut Butter: The star of our swirl! Melted peanut butter is key for easy incorporation and for creating those smooth, delectable ribbons. Using creamy, not crunchy, peanut butter is essential for a consistent swirl, and melting it ensures it stays pliable and doesn't turn into hard, frozen nuggets. Natural peanut butters (oil on top) might require more thorough stirring before melting to ensure uniform consistency.
The beauty of a recipe that uses just these four components makes it incredibly accessible and perfect for busy days. For a deeper dive into the simplicity and magic of this technique, check out our guide on
No-Churn Chocolate Peanut Butter Ice Cream: 4 Ingredients.
Mastering the Swirl: Techniques for Perfection
Now for the pièce de résistance: achieving those *perfect swirls* in your *homemade chocolate peanut butter ice cream*. It's a subtle art, but with these techniques, you'll nail it every time.
1.
Whip the Heavy Cream to Stiff Peaks:
* Start with very cold heavy cream. For best results, chill your mixing bowl and whisk attachment (if using a stand mixer) in the freezer for 10-15 minutes beforehand.
* Whip the heavy cream on medium-high speed until *stiff peaks* form. This means when you lift the whisk, the peaks stand straight up without drooping. This usually takes 3-5 minutes with an electric mixer. Be careful not to over-whip, as it can turn granular. The air incorporated here is vital for a light base that won't deflate when other ingredients are added.
2.
Gently Fold in the Base Ingredients:
* In a separate bowl, briefly whisk together the sweetened condensed milk and cocoa powder until mostly smooth.
* Carefully pour this chocolate mixture into the whipped cream. Using a large spatula, *gently fold* the ingredients together. The key word is "fold" – not stir vigorously. Use an upward motion from the bottom of the bowl, lifting and folding the cream over the chocolate mixture. Continue until just combined, ensuring the mixture remains light and airy. Over-mixing at this stage can deflate the cream, leading to a denser, icier ice cream.
3.
Prepare the Peanut Butter for Swirling:
* This is a critical step for perfect ribbons. Place your creamy peanut butter in a microwave-safe bowl. Microwave in 15-20 second intervals, stirring well after each, until it's smooth, runny, and easily pourable, but not hot. You want it warm enough to be liquid, but not so hot that it melts your ice cream base. Alternatively, you can melt it gently over a double boiler. A thin, drizzly consistency is ideal for creating distinct swirls that don't harden into clumps upon freezing.
4.
The Art of the Swirl:
* Spoon about half of your chocolate ice cream base into a loaf pan or a freezer-safe container.
* Drizzle approximately half of your melted peanut butter over the base. Don't worry about perfect coverage; scattered drizzles are fine.
* Spoon the remaining chocolate ice cream base over the peanut butter layer.
* Drizzle the rest of the melted peanut butter on top.
* Now, take a butter knife or the handle of a spoon and gently run it through the layers in a swirling motion. Aim for 3-4 gentle, S-shaped or figure-eight motions across the pan. The goal is to create distinct *ribbons* and *marbled effects*, not to fully incorporate the peanut butter. Stop as soon as you see beautiful swirls forming. Less is often more here; over-swirling will blend the flavors too much and diminish the visual appeal.
*
Troubleshooting Tip: If your peanut butter seems to sink too quickly, your base might be too thin (possibly due to under-whipped cream or over-mixing). If it's too thick to swirl, slightly re-warm it.
5.
Freeze for Perfection:
* Cover the loaf pan tightly with plastic wrap, pressing it directly onto the surface of the ice cream to prevent ice crystals.
* Freeze for at least 6 hours, or preferably overnight, until firm. This patient wait will be truly worth it for that first decadent scoop!
Beyond the Basics: Elevating Your Chocolate Peanut Butter Ice Cream
While the core recipe for *chocolate peanut butter ice cream* is undeniably delicious, there are always ways to personalize and elevate your creation.
*
Optional Toppings:
*
Chopped Peanuts: For an added textural crunch that complements the creamy base.
*
Chocolate Shavings: Enhance the chocolate experience with an elegant touch and a burst of intense cocoa flavor.
*
Whipped Cream: A luxurious dollop on top adds an extra layer of creaminess.
*
Mini Peanut Butter Cups: Chopped and sprinkled in or on top for an extra dose of peanut butter goodness.
*
Fudge or Caramel Drizzle: For an even more decadent experience, a warm drizzle just before serving is divine.
*
Flavor Enhancements:
* A pinch of sea salt in the ice cream base can miraculously enhance both the chocolate and peanut butter flavors, making them pop.
* A teaspoon of vanilla extract folded into the base can deepen the overall flavor profile.
* For an adult twist, a tablespoon of coffee liqueur or a pinch of instant espresso powder can intensify the chocolate notes.
*
Serving Suggestions:
* Serve in classic ice cream cones for a nostalgic treat.
* Scoop into elegant bowls and garnish with your favorite toppings.
* Turn it into an ice cream sandwich with homemade cookies or brownies.
*
Storage Tips:
* Always store your *homemade chocolate peanut butter ice cream* in an airtight container to prevent freezer burn and keep it tasting fresh.
* Press a layer of plastic wrap directly onto the surface of the ice cream before sealing the container – this creates an extra barrier against ice crystals.
Indulge in Homemade Bliss
Creating your own *homemade chocolate peanut butter ice cream* with *perfect swirls* is a rewarding culinary adventure. It's more than just following a recipe; it's about understanding the synergy of ingredients and mastering a few simple techniques to produce something truly special. From the first luxurious spoonful, you’ll taste the difference that care and attention to detail make. So grab your mixer, prepare your ingredients, and get ready to whip up a crowd-pleaser that will make your kitchen the new favorite hangout! Enjoy the delight of this truly irresistible frozen treat.